

Quickstart
Create your first overlay, add it to OBS and connect your channel in three steps.
On this page
The home page of PX Studio shows the same three steps under Go live in three steps. Here they are in detail.
1. Create your overlay
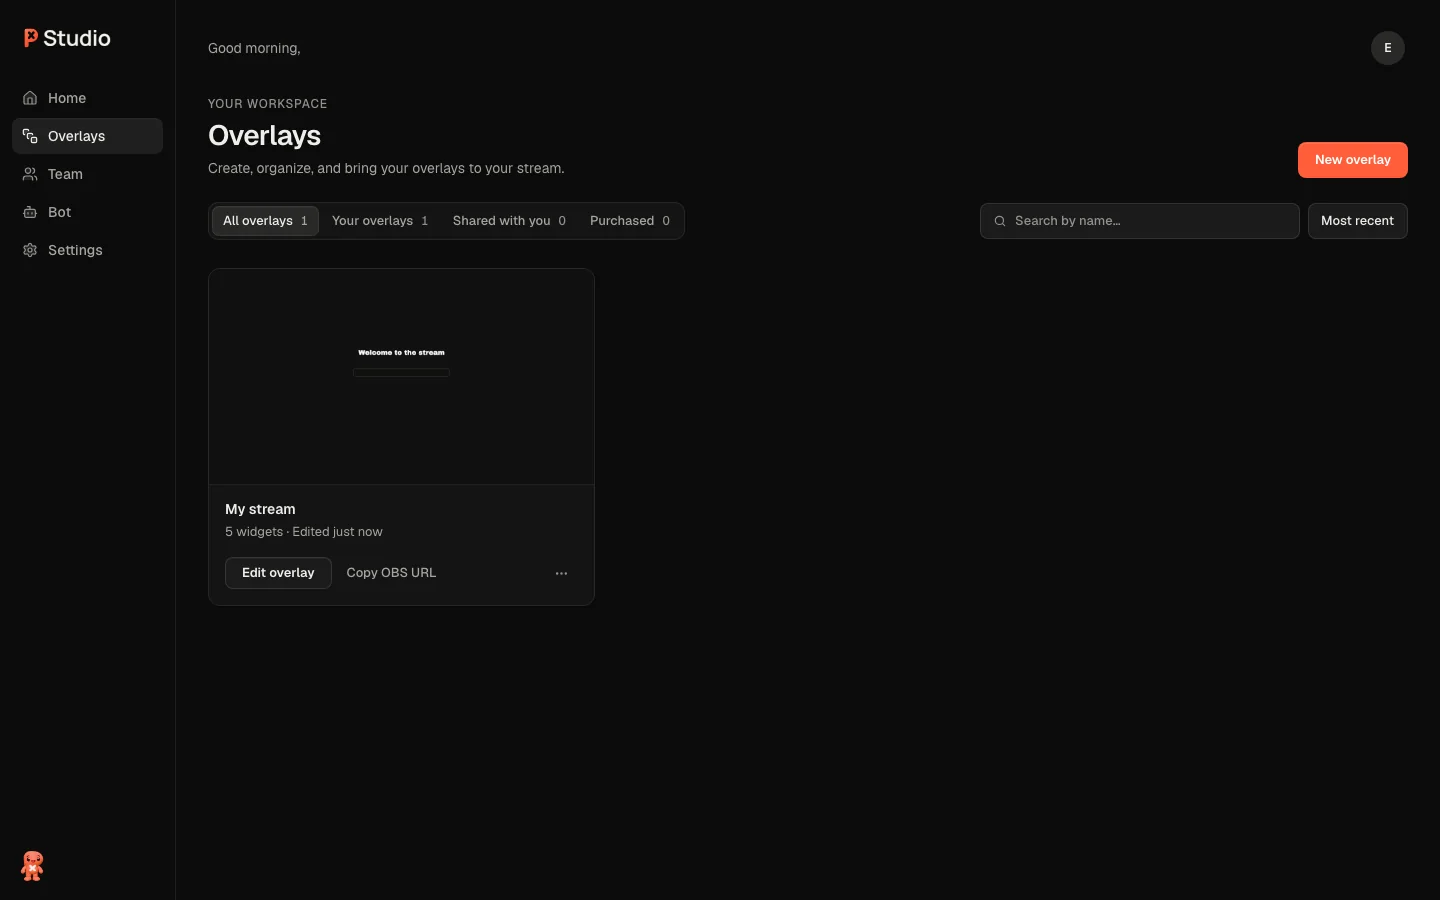
Open PX Studio and go to Overlays, then click New overlay.
Pick Blank to start empty. The ready-made looks show Big upgrade coming soon for now and cannot be picked yet.
Click Create overlay. The editor opens with your canvas.
2. Add it to OBS
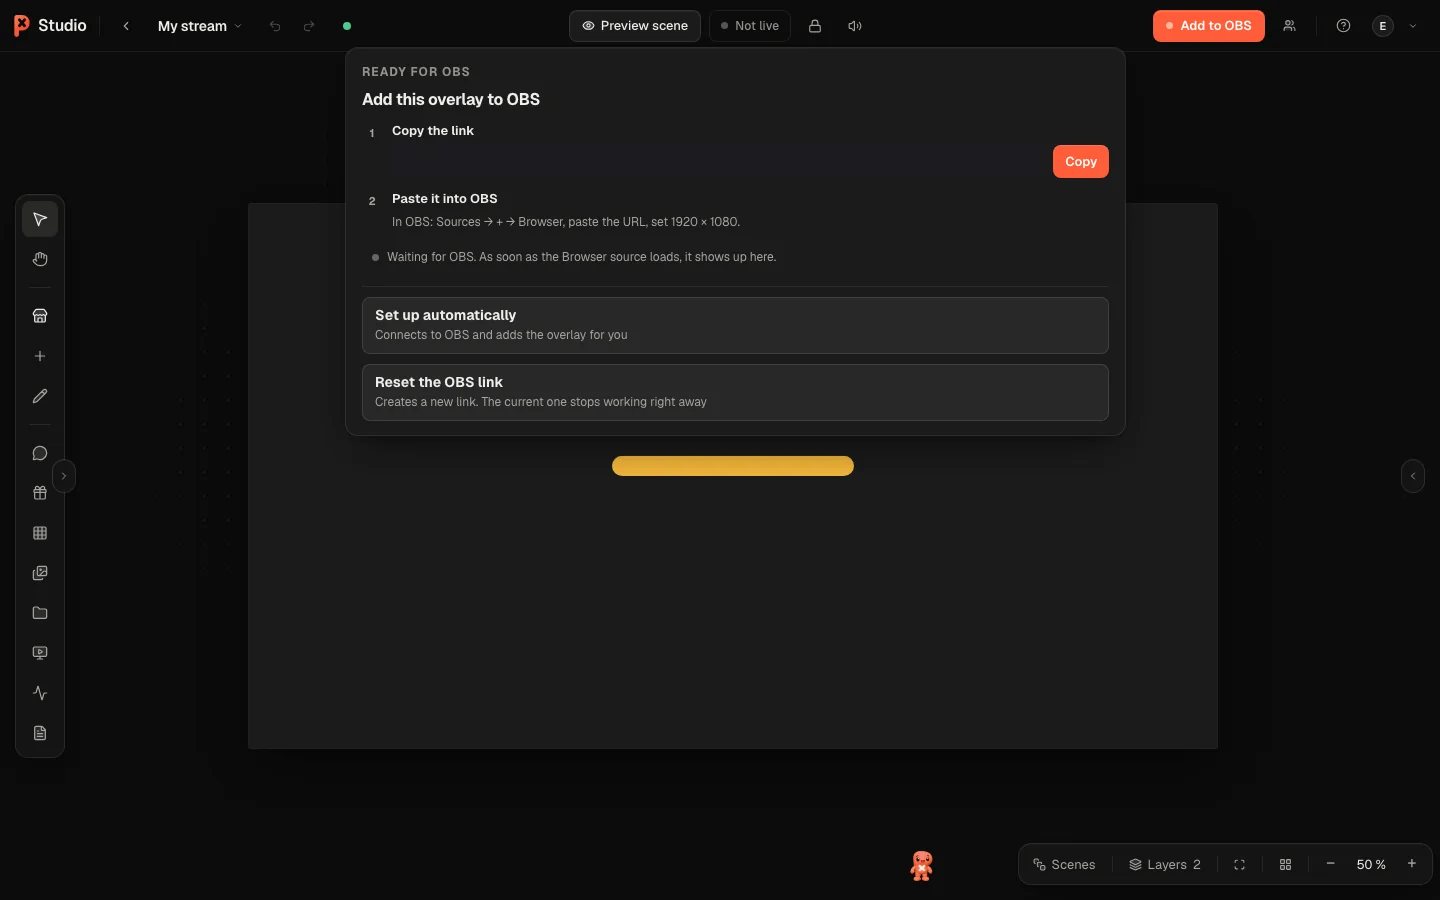
In the editor, click Add to OBS in the top bar and then Copy link.
In OBS, open Sources, click +, choose Browser and paste the URL.
Set width and height to your overlay size, by default 1920 × 1080. Done.
You can also let PX Studio do this for you with Set up automatically. See Add to OBS for both ways.
3. Connect your channel
Open Settings and the Connections tab.
Connect Twitch, Kick or both. Alerts, chat and the bot need at least one connected channel.
Back on the home page, the Stream check shows a green Verified for every part that is ready.
What next
Was this page helpful?